Techniques for Setting Disc Harrows & Disc Ploughs Easier Soil Turning, Faster Work
Techniques for Setting Disc Harrows & Disc Ploughs Easier Soil Turning, Faster Work
Many farmers often face problems such as soil not flipping properly after ploughing, tractors dragging heavily, or jobs taking too long while consuming more fuel. Surprisingly, the issue isnt always the soil or the tractorits often due to improper plough adjustment.
This seemingly small detail makes a huge difference. With the right angle and settings, soil turns beautifully, work moves faster, and both time and energy are saved.
In this article, CMT shares simple, practical techniques for adjusting disc harrows and disc ploughs, explained as if an experienced farmer were guiding you in person. With these adjustments, youll achieve deeper, smoother ploughing with fewer passes. If you want faster work and better soil preparation, dont miss this.
Why Correct Plough Adjustment Matters
Plough adjustment is a crucial step in land preparation. Correct settings help soil turn evenly and deeply, avoiding issues such as unturned clods or uneven furrows. This leads to faster work, time savings, lower fuel use, and less wear on machinery.
Incorrect adjustments, on the other hand, can make tractors sluggish, overload engines, cause imbalance or tilting, and even risk accidents. Thats why proper plough setup is not just a minor detail but a fundamental farming practice. When done right, it ensures smooth operations, better yields, and longer equipment lifespan.
Techniques for Adjusting Disc Harrows & Disc Ploughs
Different soil types require different setups. Some fields have soft soil, others are hard and compact, while some are overgrown with weeds. Adjusting the plough to match these conditions ensures smoother, faster work and soil thats well-prepared for planting.
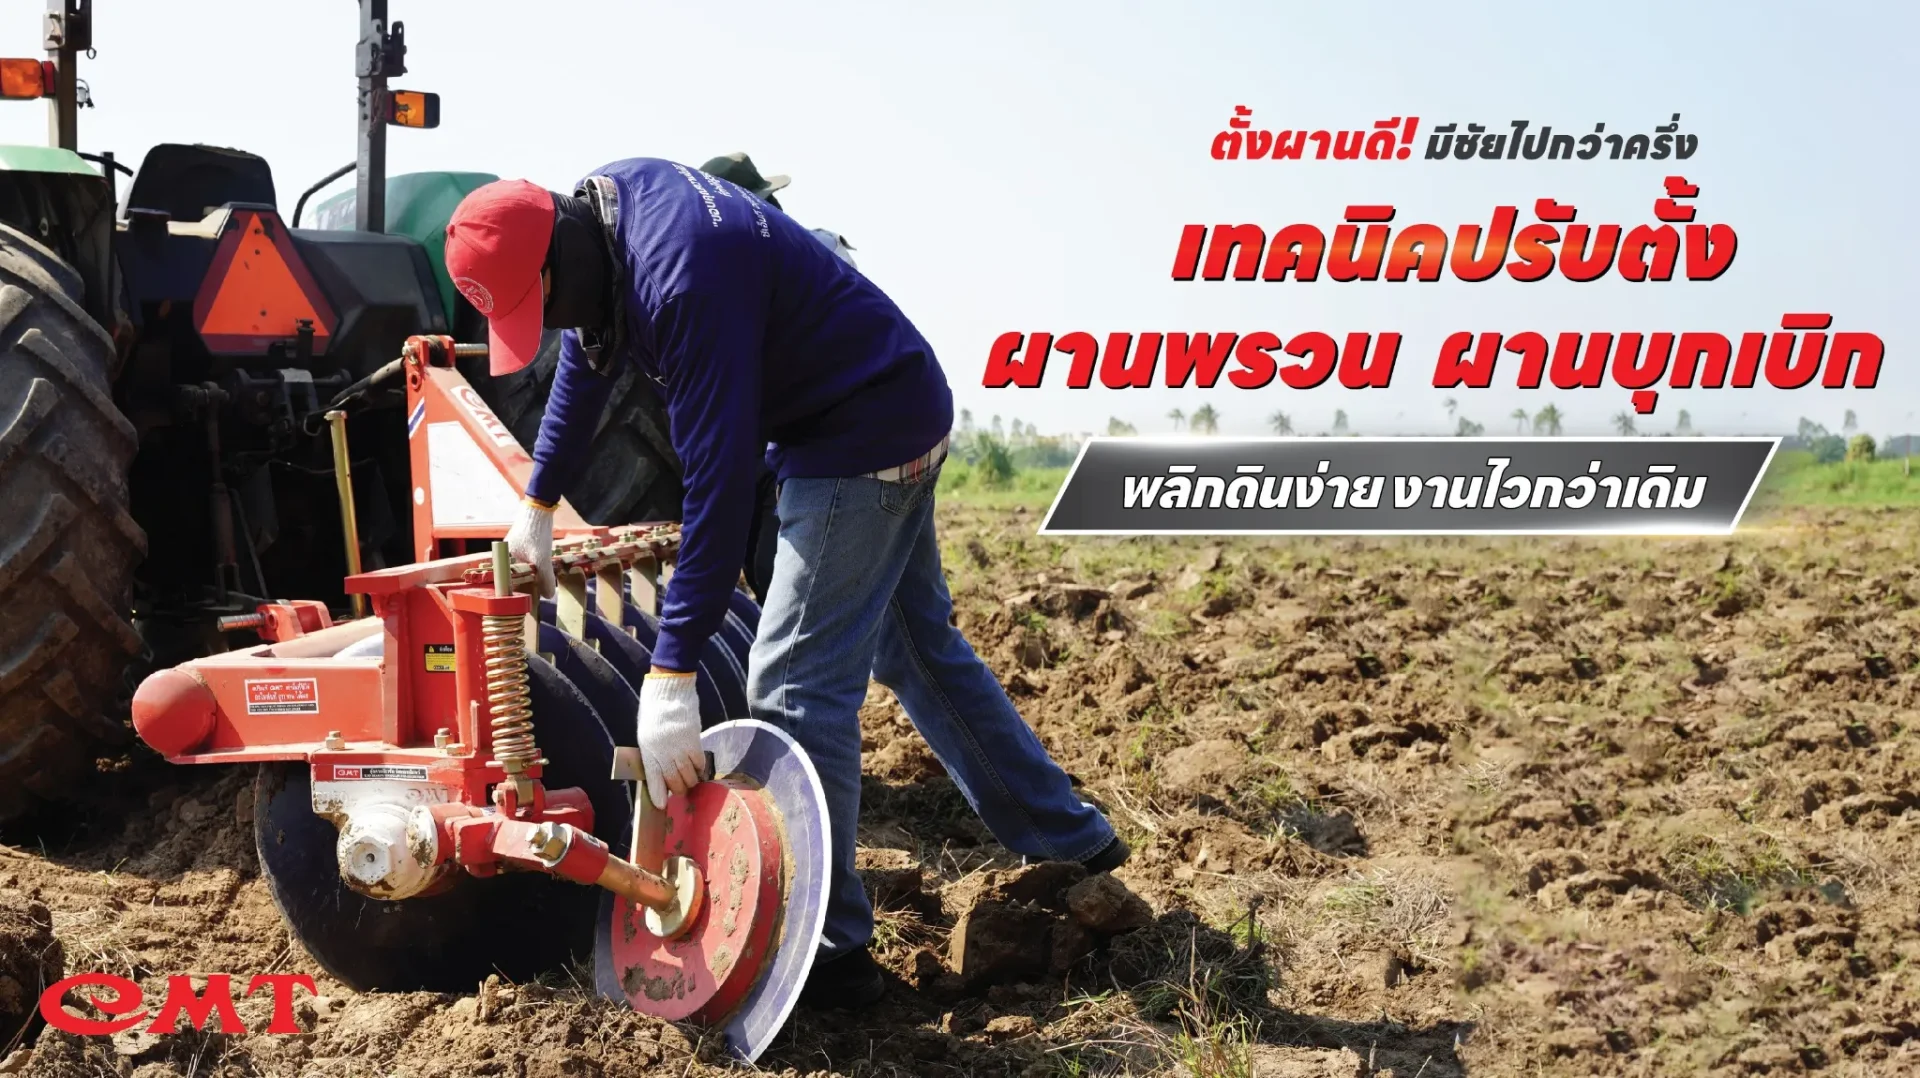
1. Adjust the rear spring (tail adjustment) based on soil type:
- Soft soil tighten the rear spring (no gap).
- Hard soil loosen the rear spring (gap about 12 inches).
- Hard soil with heavy weeds loosen the spring and reduce the number of discs to make ploughing easier.
2. Settings after attaching the plough to the tractor:
Ensure side chains are equal, positioning the plough at the tractors center for balance.
Adjust the top link and right lift arm:
- Top link controls rear disc depth.
- Right lift arm controls front disc depth.
- Hard soil adjust for deeper ploughing.
- Soft soil set for shallower ploughing.
Quick rule of thumb for adjustments:
- Tighten = plough lifts = shallower cut
- Loosen = plough lowers = deeper cut
By following these settings, farmers can plough more efficiently, with smooth soil turnover, less tractor drag, and quicker completion. Always inspect soil conditions before starting to avoid re-adjustments mid-work.
Cautions When Adjusting Ploughs
Even though plough setup seems basic, mistakes can reduce performance or damage equipment. Pay attention to these points:
1. Dont guess adjustmentsprecision matters for balance and even soil turnover.
2. Avoid setting the plough too deepit overloads the tractor, wears parts faster, overheats engines, and wastes fuel.
3. Always check bolts and pins before workloose parts can cause bending or severe damage.
4. Use proper counterweightslarge ploughs without weight balance can lift front wheels or destabilize the tractor.
5. Adjust per field conditionstheres no one-size-fits-all setting.
These small details greatly impact both efficiency and equipment life. Attention to setup ensures smooth, uninterrupted operations.
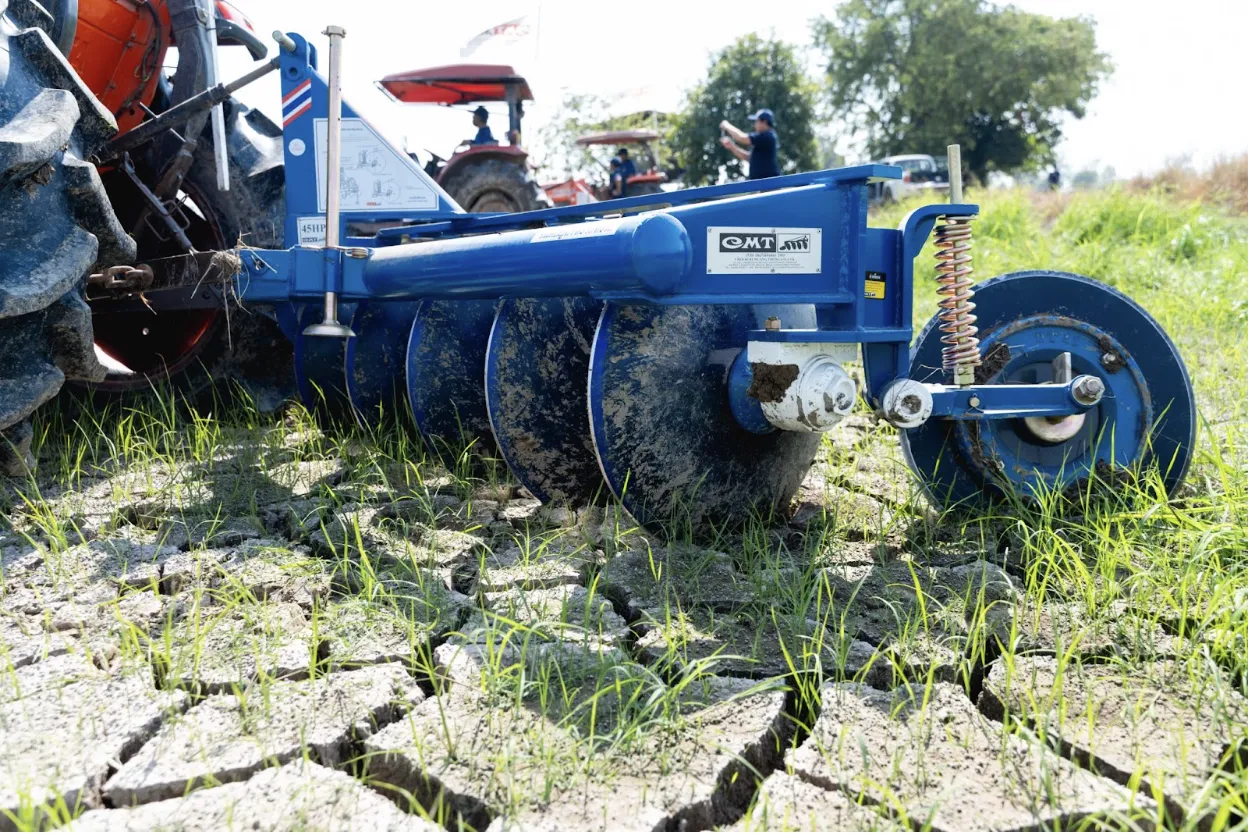
How to Check If the Plough Angle is Correct
Farmers often wonder if the plough has been set to the right angle. Signs of proper adjustment include:
1. Soil turnover line neat, straight, not wavy or uneven.
2. Soil depth not too shallow (no turnover) and not too deep (dragging the tractor). Ideal:
- Disc harrow: 1520 cm
- Disc plough: 2030 cm
3. Resistance tractor moves steadily without excessive drag.
4. Soil surface evenly broken, not in large clods, not powdery.
Correct angles depend on observation in the field, soil type, and tractor weight.
Extra Tips from Experienced Farmers
- Inspect plough condition before every use.
- Balance tractor counterweights properly.
- Test plough in-field before full operation.
- Adjust for season and field conditions.
Small adjustments may seem minor but make a big difference in efficiency, cost savings, and long-term yields.
Correct Plough Adjustment = Faster Work, Less Labor
Proper plough setup is the key to efficient soil preparation. Well-turned soil is loose and ready for planting, enabling faster and easier work with reduced labor and fuel costs.
CMT designs and manufactures disc harrows and disc ploughs that are easy to adjust, durable, and effective across all soil conditionshard, dry, or wet. Made from high-quality, heavy-duty materials, CMT implements are built for long-lasting performance and heavy use.
Choose CMT disc harrows and disc ploughs for maximum value, tailored to diverse conditions, and trusted to support Thai farmers in every field.
Please contact CMT Thailand for more information
- Phone: +66 38 273 250 to 7
- Facebook Page: CMT ชลบุรีเมืองทอง ไถดีที่สุด Official Page
- LINE Official: @cmt1955


